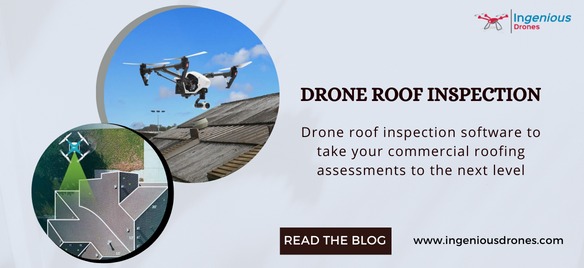
To take your commercial roofing assessments to the next level using drone roof inspection software, consider the following key steps and features that will help you make the most of this technology:
- Select the Right Drone and Equipment: Choose a drone and camera setup that suits your specific commercial roofing needs. This might include a drone with high-resolution cameras, thermal imaging capabilities, and obstacle avoidance systems for safer and more accurate inspections.
- Choose the Right Software: Opt for dedicated drone roof inspection software or applications that are designed for the purpose. Popular options include Drone Deploy, Pix4D, and Precision Hawk. Look for software that offers the following features:
- Automated flight planning for efficient roof coverage.
- Real-time data streaming for on-site analysis.
- Image stitching for creating high-resolution orthomosaics.
- 3D modelling capabilities.
- Measurement tools for area and distance calculations.
- Annotation and mark-up features for identifying issues.
- Integration with thermal imaging cameras.
- Data storage and management capabilities.
- Cloud-based solutions for easy data sharing and collaboration.
- Plan and Prepare: Properly plan your drone inspection, ensuring that you have all the necessary permits, permissions, and safety precautions in place. Plan the flight path, waypoints, and the specific areas of interest on the roof that need inspection.
- Conduct the Inspection: Execute the drone flight according to your plan, capturing high-quality imagery and, if applicable, thermal data. Ensure you maintain a safe distance and follow all regulations while flying the drone.
- Data Analysis: Once you’ve captured the data, use the software to analyse it. Look for issues such as roof damage, leaks, wear and tear, or other anomalies. Some software tools include automated damage detection using machine learning algorithms.
- Generate Reports: Create detailed reports that include annotated images, measurements, and any relevant thermal data. These reports should provide a clear overview of the roof’s condition and any recommended actions for repairs or maintenance.
- Integration with Building Information Models (BIM): If applicable, integrate the drone data with your existing BIM software for a more comprehensive analysis.
- Historical Data Tracking: Keep records of previous drone inspections, allowing you to track changes in the roof’s condition over time and assess the effectiveness of previous maintenance efforts.
- Client Communication: Share the inspection results and reports with clients or stakeholders using the software’s sharing and collaboration features. Visual data can help convey the urgency and necessity of repairs or maintenance.
- Safety and Compliance: Always prioritize safety, both in terms of drone operation and adherence to regulations. Make sure your team is trained and certified in drone operation and follows best practices.
- Cost-Benefit Analysis: Evaluate the cost savings and benefits of using drone roof inspection software, such as reduced labour costs, improved accuracy, and timely identification of issues.
By following these steps and making use of advanced features in drone roof inspection software, you can enhance the accuracy, efficiency, and safety of your commercial roofing assessments, ultimately improving the management and maintenance of commercial roofs.


Recent Comments